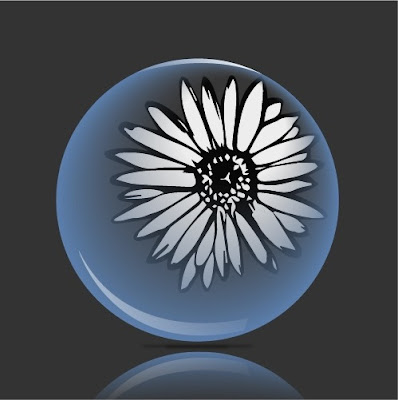
Bubble Design by using blend mode.
 |
| Bubble |
Step
1
Open
illustrator, go to File - New – Click OK.
Step
2
Draw
a square for the background and fill dark color, lock it.
Step
3
Draw
a Circle by selecting Ellipse Tool, drag while holding Shift Key,
fill solid color.
Draw
another Circle (small) inside it and fill solid white color, see
below image.
Select
both circles and select Blend Tool, click on circle one after another to
create the Blending Effect.
Decrease
Opacity to 10%.
Step
4
Draw
shapes like below to create a shining effect, draw shapes like below with the
help of Pen Tool and fill gradient black and white color. Select them,
go to Windows- Transparency (option bar opens), change mode to Screen
i.e. Blending Mode and decrease Opacity to 50%, if required, do
not decrease opacity.
Select
all, Group them (CTRL+G) and lock it.
Step
5
Now, place the image, go to File-
Place (select image whichever you want, I selected the image which is one of
my drawing works) - OK.
Click on Embed and then Image Trace.
Now, click on the Expand. Select image, right click- Ungroup, and
delete unnecessary part.
Put the image behind the bubble,
adjust shape and position. Group it with bubble.
Step 6
For the shadow of the bubble, draw an Ellipse,
fill black color, go to Effects- Blur- Gaussian Blur-(change settings)OK.
Step 7
For the reflection of bubble, select the bubble, for Reflect
Tool, Press O, double click on reflect tool (option bar opens),
check on the horizontal and click on copy option. Move the copied
image just below the original image.
Step 8
Draw Rectangle on copied image
(area which you want to be reflected) like below and fill gradient black
and white color (Linear and 90 degree angle). Select the reflected image and
rectangle, go to Windows- Transparency- Click on Make Mask.
And that’s it.


No comments:
Post a Comment